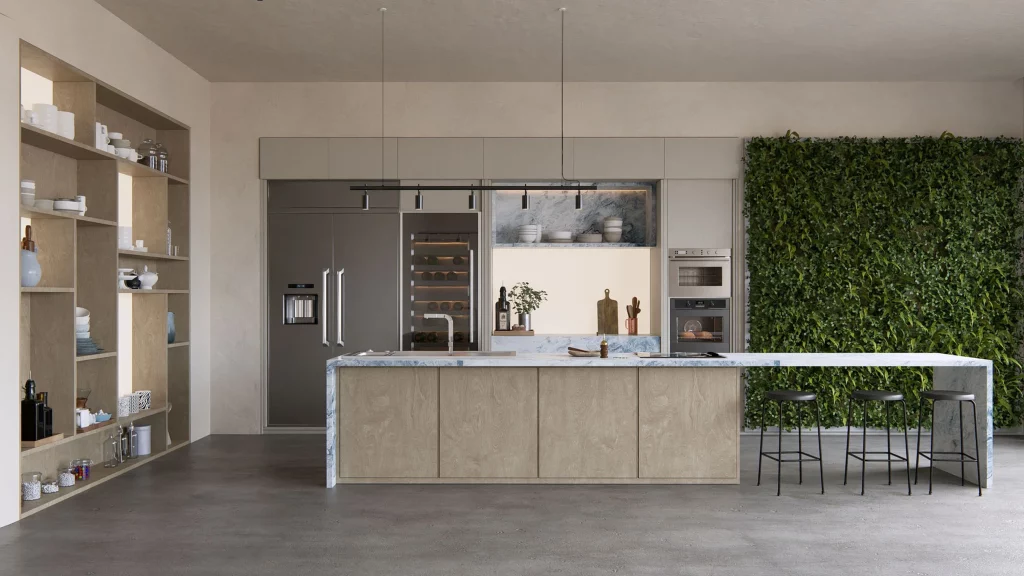
In professional architectural visualization, materials are much more than an aesthetic finish. They are the language through which a project communicates its design decisions: the roughness of exposed concrete, the warmth of natural wood, the coolness of brushed steel. Making these materials look exactly as the architect or designer envisioned them has always been one of the great challenges of rendering.
Lumion Cloud incorporates a tool that completely changes that equation: the AI Material Generator . With it, you can convert any real-world reference image into a ready-to-use PBR material in Lumion Pro in minutes, without needing advanced texturing skills.
At Aufiero Informática we explain exactly how it works and why it represents a significant advance for the workflow of any professional studio.
What is a PBR material and why does it matter?
PBR stands for Physically Based Rendering . A PBR material is not simply an image applied to a surface: it is a set of maps that describe how that surface behaves in response to light in physically accurate terms.
A complete set of PBR maps includes the albedo map (the base color of the surface), the normals map (which simulates relief and microgeometry without adding polygons), the height map (which defines the depth of the surface), the roughness map (which controls how much specular light it reflects), and the metallicity map (which indicates whether the surface behaves like a metal or a dielectric).
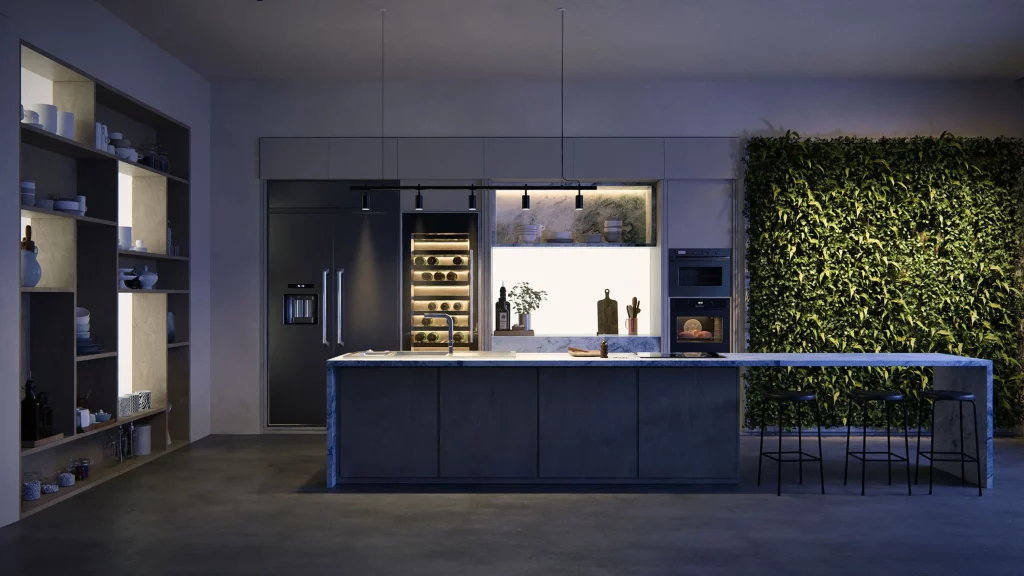
Working with properly configured PBR materials is what allows a Lumion render to look convincing under any lighting conditions, whether it’s direct sunlight, overcast skies, or artificial indoor lighting. It’s the technical foundation of visual fidelity.
The AI Material Generator: From Reference to Material in Five Steps
Until now, creating a custom PBR material involved a laborious process: photographing the surface, processing it in specialized software, generating each map separately, manually adjusting parameters, and finally, importing everything into the rendering software. This process could take hours and required specific expertise in texturing.
Lumion Cloud’s AI Material Generator compresses that entire process into five simple steps, accessible from any browser.
Step 1: Upload the reference image
The process begins with any image. If you see an interesting texture in the real world, simply take a photo with your phone and upload it to Lumion Cloud, making sure to capture the surface head-on. From the Lumion Cloud dashboard, access the AI Material Generator in the side menu and upload the file using the file explorer or simply by dragging and dropping it .
This initial simplicity is deliberate and significant: the starting point can be a photograph taken on-site, an image from a supplier catalog, a scanned sample, or any visual reference shared by the client. The material no longer originates from a generic library, but from the concrete reality of the project.
Step 2: Cut and define the type of material
Precision cropping tools allow you to focus exactly on the surface you want to capture. Then you select a material type to give the AI a solid starting point: bricks, concrete, fabric, wood, stone, or “Other” to explore different options. lumion
This preliminary categorization is key to the quality of the result. By indicating the surface type to the AI, the algorithm adjusts its internal parameters to generate maps that behave consistently with the physical properties of that material. Concrete and fabric have radically different optical behaviors, and the system treats them accordingly.
Step 3: Generate and review the maps
Clicking Generate converts the reference into a continuous, tileable texture. The split view allows you to compare the 2D maps and the 3D preview simultaneously. Generate All creates Normal, Height, Roughness, and Metallicity maps along with the initial Albedo result. Each map can be adjusted independently, and the side panel allows you to zoom, change the preview mesh, and test the material under different lighting conditions. lumion
This step is where the tool’s power truly shines. Seeing in real time how the material reacts to different light sources, on various geometries, allows for informed decisions before exporting. It’s the equivalent of having a materials lab integrated directly into the workflow.
Step 4: Save and download the PBR maps
Once the material looks correct, it is saved, and then the generated PBR maps are downloaded for import into Lumion Pro. The generated materials are automatically saved in My Creations , where they can be renamed or duplicated to create variations.
The ability to maintain a library of your own materials, organized and accessible, is an enormously valuable resource for studios that work with recurring projects or that need to maintain visual consistency between different works.
Step 5: Import and apply in Lumion Pro
Once downloaded, the maps are ready to be imported into Lumion Pro, where they can be adjusted, combined, and applied to the scene . Built from references imported into the project, these custom materials facilitate matching the real-world context, responding to client feedback, and ensuring a smooth workflow.
Why this tool changes the dynamics with the client
Beyond its technical efficiency, the AI-powered Material Generator has a direct impact on client relationships. When a client brings in a reference—a photo of a coating they saw on a trip, a sample of a material they’re interested in, an image of a reference project—the studio can now translate that reference into a material applicable to the model in minutes.
This responsiveness transforms the presentation dynamic. Instead of approximating what the client envisioned using library materials, it’s possible to show them that exact material, in that context, with that lighting. The gap between the client’s reference and the architect’s rendering is drastically reduced, and with it, the number of revision cycles.
Lumion Cloud: a platform that grows with the professional
The AI Material Generator is just one part of Lumion Cloud. Included free with all Lumion plans, Lumion Cloud integrates visual collaboration tools, native uploading from Lumion Pro and View, AI-powered image scaling, and free content packs—all in one place .
For studios already working with Lumion Pro, incorporating Lumion Cloud into their workflow involves no additional cost and no significant learning curve. It’s a natural extension of their existing capabilities, with tools that solve specific, everyday work problems.
Aufiero Informática: your official access to Lumion in Latin America
At Aufiero Informática, we are official Lumion distributors for the entire region. We have in-depth knowledge of every tool on the platform—including the latest features of Lumion Cloud—and we support studios throughout the implementation process with technical assistance in Spanish.
If you’d like to learn more about the AI Material Generator, available plans, or how Lumion can integrate into your existing workflow, please contact us. We’re here to help.